
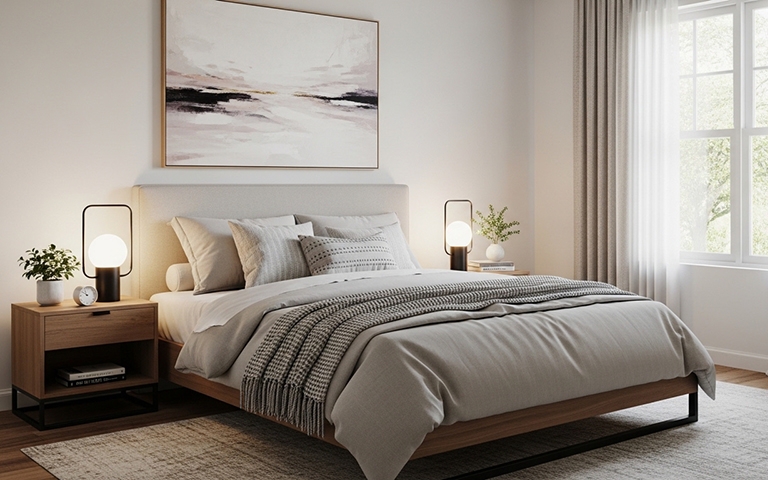
Small budget, big upgrade

20 years of experience as a home decor consultant, specializing in furniture selection, space-conscious layouts, and practical interior solutions.
Let me paint you a picture: I walked into my bedroom one morning, took a long look around, and felt absolutely nothing. No excitement. No comfort. Just the sad energy of a room that screamed: “I gave up somewhere around 2022“. Sound familiar?
I wanted a change. But here’s the kicker – I didn’t have $2,000 to drop on a “makeover” that basically translates to buying overpriced throw pillows and a new duvet. So I gave myself a challenge: completely overhaul my bedroom for under $100.
Not $500. Not $200. One hundred bucks.
And guess what? I did it. I have the receipts to prove it, and I’m about to show you exactly how I pulled it off. No sponsorships, no magical thrift-store unicorn finds (okay, maybe one), just pure diy budget bedroom hacks, stubbornness and a little creativity. Ready to steal my playbook?
The $100 Philosophy: Why Spending Less Forces Better Ideas
Here’s the thing about a tight budget: it forces you to get clever. When you’ve got a credit card and an open tab at West Elm, you buy your way out of design problems. Boring wall? Buy a $400 painting. Dull lighting? Order a trendy floor lamp. But when you’ve got $100 for an entire room? You suddenly start looking at everything differently.
I set my rules from the start:
- No cheating. Every item I bought for the room had to go on the final receipt tally.
- I could use what I already owned. Rearranging and repurposing cost nothing, so that became my foundation.
- Paint was my best friend. It’s cheap and transforms literally anything.
FYI: This challenge took me about three weeks, mostly because I waited for paint sales and scavenged Facebook Marketplace like a raccoon hunting for leftovers. But the result? A bedroom that finally feels like mine – and my wallet didn’t file for divorce.
|
MUST READ: |
The Grand Total: Let’s Start With the Receipts
Because I know you’re itching to see the numbers, here’s my entire breakdown. I’ve bolded the biggest money-savers so you don’t miss them.
- Paint (sample pots and a mis-tint gallon): $18
- Secondhand curtain rods + curtains: $12
- DIY wood for floating shelf: $0 (scrap wood from a neighbor’s curb pile)
- Fabric for headboard: $14 (clearance bin score)
- Thrifted lamp: $6
- Command strips + adhesive hooks: $9
- Spray paint (for old frames): $8
- Plants (two small ones): $11
- New pillow inserts: $22
- Total: $100 even
I’m not kidding. I literally stopped at $100 because I refused to go over. Did I make compromises? Sure. Did I also end up with a room that looks like I spent ten times that amount? Absolutely.
The Furniture Flip: I Didn’t Buy Anything New
Here’s where I saved the most money: I didn’t buy a single piece of new furniture.
That Headboard You’re Eyeing? I Made Mine for $14
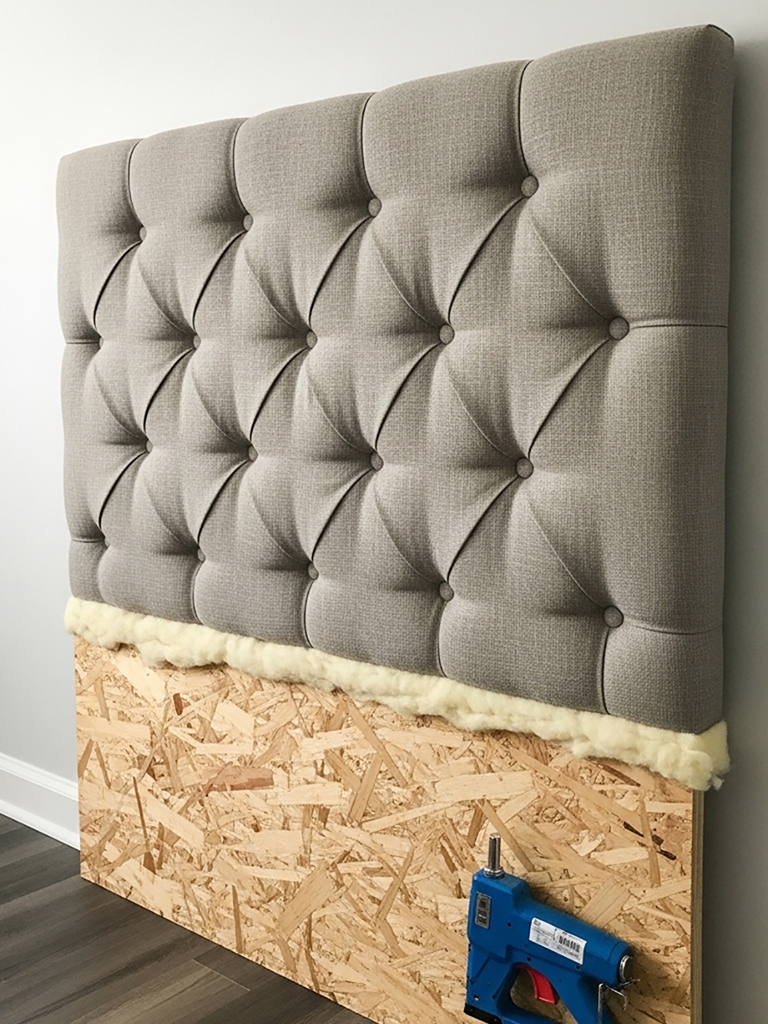
Ever priced a tufted headboard lately? I did, and I nearly choked. $300 for something that leans against my wall and collects dust? No thanks.
Instead, I grabbed a $14 piece of clearance upholstery fabric from the remnant bin at my local craft store. I already owned a sheet of plywood (leftover from a previous project – but you can grab a small piece for under $15 if you don’t have scrap), some batting from an old project, and a staple gun.
I cut the plywood to size, wrapped it in batting, stretched the fabric over it, and stapled the whole thing down like I was upholstering a race car seat. Total time: two hours. Total cost: $14. And honestly? I love it more than anything I could’ve bought.
Rhetorical question for you: Who needs a $300 headboard when a staple gun and a clearance rack exist?
The Nightstand Situation
My old nightstand was a dark wooden cube that absorbed light like a black hole. I didn’t buy a new one – I just moved a small side table from my living room into the bedroom (free) and spray-painted it matte black ($8).
Suddenly, it looked intentional. Not like a refugee from another room.
Wall Treatment: How Paint Does All the Heavy Lifting
Paint is the cheapest facelift you’ll ever buy. I know, I know – you’ve heard that before. But here’s what people miss: you don’t need to paint the whole room to make an impact.
The Accent Wall Trick
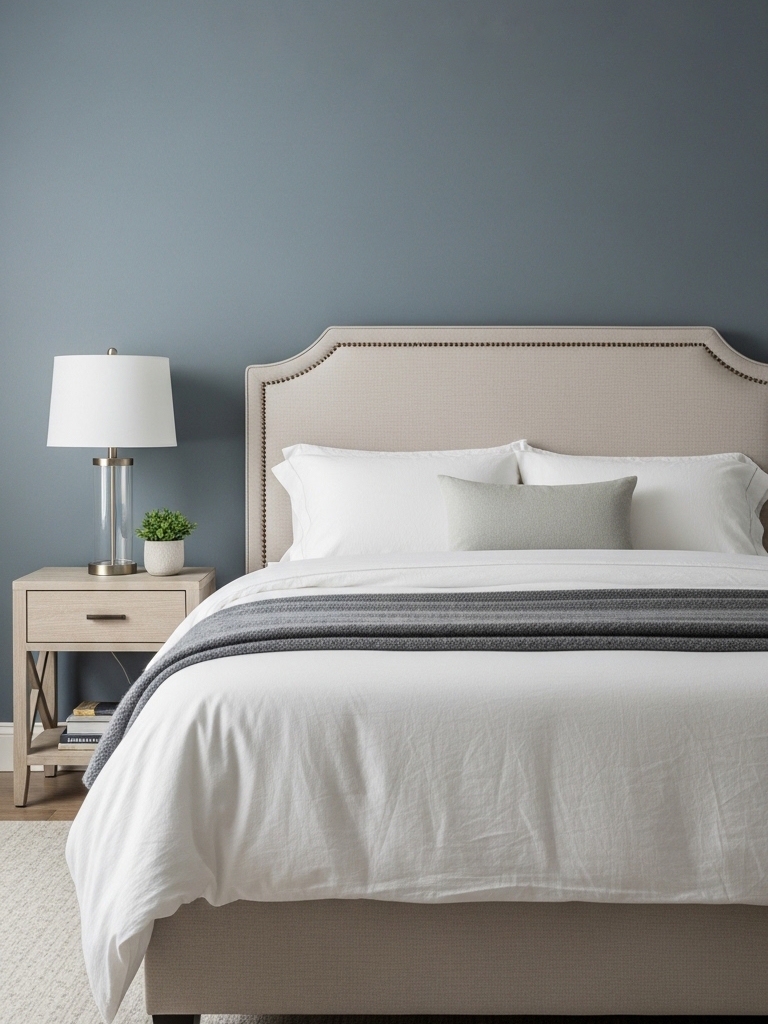
I found a mis-tint gallon at my local hardware store for $12. Somebody ordered a custom gray-blue, decided they hated it, and I swooped in like a vulture. One gallon painted one accent wall behind my bed with plenty left over.
Pro tip: Ask the paint desk if they have a “mistint” section. These are gallons of paint people returned because the color wasn’t right, and you can snag them for a fraction of the price. My $12 gallon would’ve cost $55 retail.
For the other walls? I didn’t touch them. The accent wall draws all the attention, so the rest of the room just quietly supports it like a good backup singer.
I Didn’t Buy New Art
Instead of buying prints or canvases, I raided my own closet. I framed a vintage scarf I already owned ($0) and spray-painted three mismatched thrift-store frames ($8 total) to match. I printed free high-res art from museum archives (shout out to the Met’s open-access collection) and popped them in.
Cost for “new” art: $8 in spray paint.
|
MUST READ: |
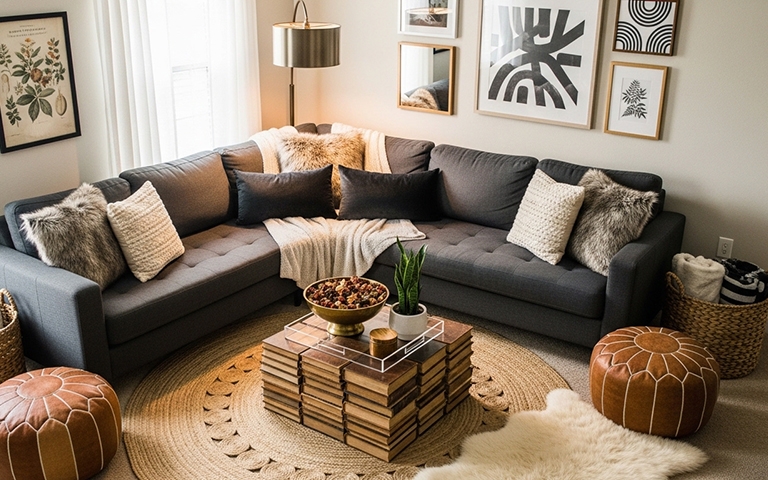
Lighting: Because Overhead Lights Are the Enemy
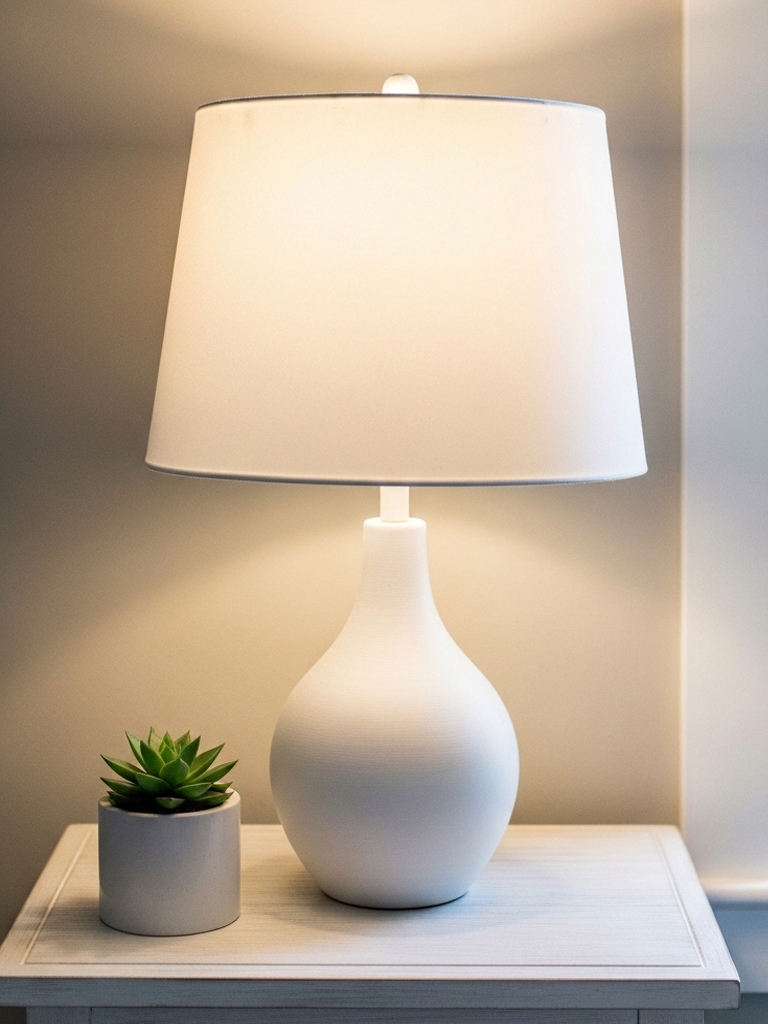
If you only take one thing from this article, let it be this: never use the overhead light unless you’re looking for your keys. Overhead lighting makes every room feel like an interrogation.
I thrifted a small ceramic lamp for $6. It was ugly – I’m talking “grandma’s guest bathroom” ugly – but it had good bones. I spray-painted it matte white (same can from the frames project) and paired it with a $4 thrifted lampshade.
Total for a custom-looking lamp: $10.
Ever notice how one warm lamp can make a whole room feel like a boutique hotel? It’s ridiculous. And yet.
Textiles: Where I Spent the Most (and Why)
I’ll be honest with you: I tried to DIY new curtains, and it went horribly. I’m not a sewer, and my hemline looked like a zigzag of shame. So I pivoted.
Curtains on a Shoestring
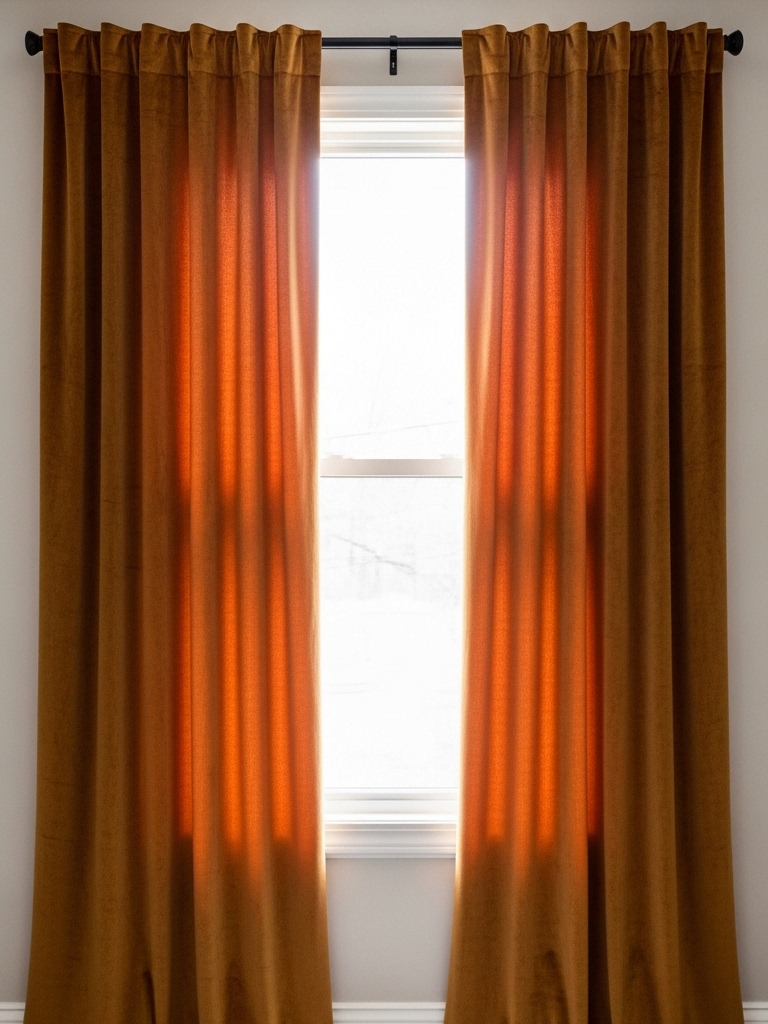
I found secondhand velvet curtains on Facebook Marketplace for $8 and bought a $4 curtain rod from a thrift store. Were they the exact length I wanted? No. Did I hang them high and wide to fake the look of bigger windows? You bet I did.
Hanging curtains higher than the window frame tricks the eye into thinking your ceilings are taller. It’s the oldest rental hack in the book, and it works every single time.
Pillows and Bedding
This was my biggest splurge, and I’ll tell you why: cheap pillows look cheap. You can’t fake good pillow fluff.
I kept my existing duvet cover (free) but bought two high-quality pillow inserts for $22 total. I stuffed them into shams I already owned, and suddenly my bed looked plump and expensive instead of sad and flat.
IMO, this was my smartest $22. Nothing screams “I gave up” like deflated bed pillows.
The DIY Floating Shelf That Cost $0
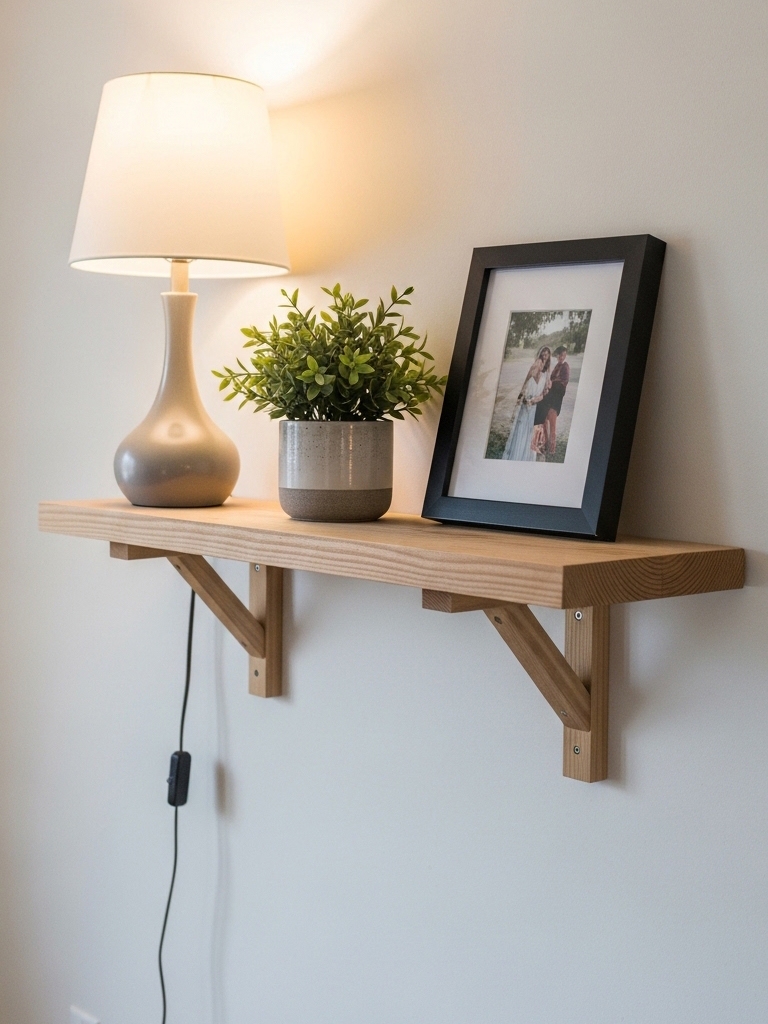
I found a pile of scrap wood on my neighbor’s curb the day after they renovated their deck. One plank was perfectly sanded and roughly 4 feet long.
I brought it inside, sanded it again (because, you know, curb wood), and mounted it with brackets I already had in a junk drawer. Total cost: zero dollars.
That shelf now holds my thrifted lamp, a small plant, and a framed photo. It looks like I planned it. I didn’t.
Do you ever feel like the universe just throws free design elements at you when you’re paying attention? I’m convinced the DIY gods rewarded my cheapness.
|
MUST READ: |
Plants: The Ultimate Cheat Code
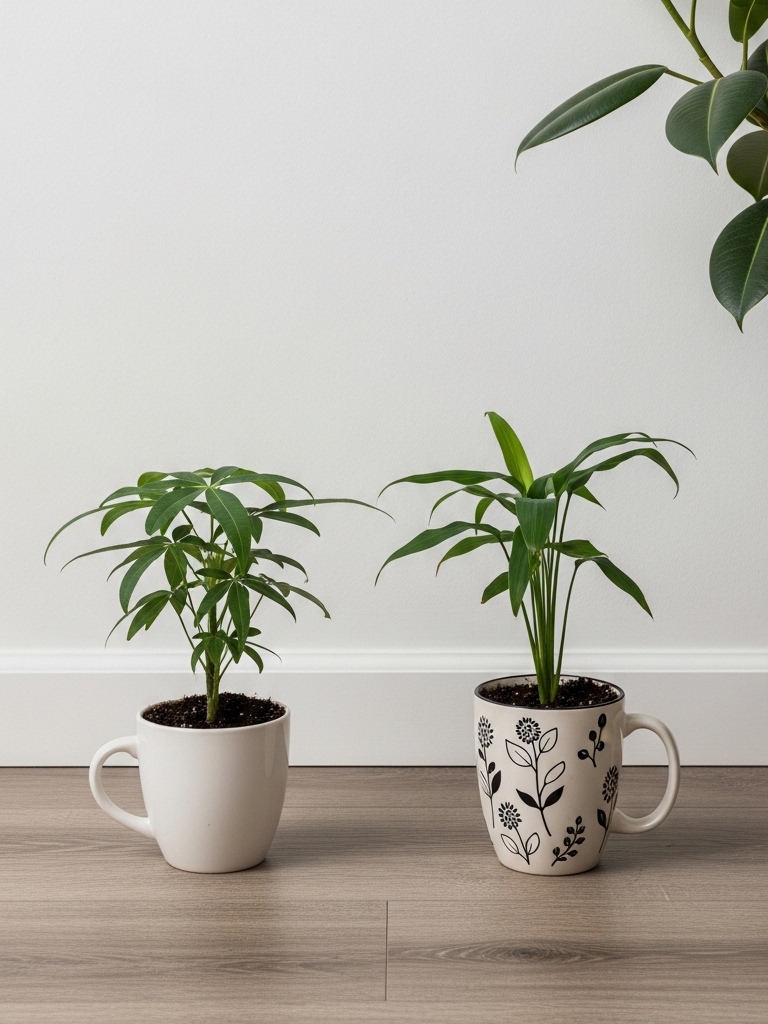
I bought two small plants for $11 total – one from a grocery store clearance rack and one from a neighbor who was propagating cuttings.
Here’s the thing about plants: they make any room look finished. You could have a mattress on the floor, and a single plant in a corner, and people will call it “minimalist. Add plants and suddenly you’re an intentional designer.
I used old mugs as pots. I’m not kidding. Two ceramic mugs I never used became planters, and nobody knows unless I tell them. Which I just did. So now you know.
The “Rearrange for Free” Strategy
Before I spent a single dollar, I rearranged everything I already owned.
- I moved my bed to a different wall.
- I swapped art between rooms.
- I took a floor lamp from my home office and put it in the bedroom corner.
Rearranging costs nothing and changes everything. Half of my “new” look came from simply shifting furniture around until the layout felt fresh.
What I Learned: You Don’t Need a Big Budget, You Need a Big Idea
If I’d walked into a home goods store with $100, I would’ve walked out with a single lamp, a throw blanket, and a lot of disappointment. But by treating the budget as a creative constraint instead of a limitation, I ended up with a room that actually reflects me – not whatever the display table at Target told me to buy.
My biggest takeaways:
- Paint is non-negotiable. It’s the cheapest transformation tool you’ve got.
- Shop your own house first. You probably own 50% of what you “need” already.
- Facebook Marketplace and thrift stores aren’t “settling” – they’re treasure hunting. The best stuff in my room came from someone else’s castoffs.
- Plants and good lighting cover a multitude of sins. Seriously. Dim the lights and add greenery, and nobody notices that your nightstand is a spray-painted relic from 2013.
|
MUST READ: |

The Receipts (So You Know I’m Not Lying)
I kept every receipt pinned to my bulletin board like a weird trophy. Here’s the full tally one more time because I’m still giddy about it:
- Paint supplies: $18
- Curtains + rod: $12
- Fabric for headboard: $14
- Thrifted lamp: $6
- Command strips/hooks: $9
- Spray paint: $8
- Plants: $11
- Pillow inserts: $22
- Grand total: $100
No, I didn’t count the staple gun because I already owned it. Yes, if you need to buy one, add $15 to your budget – and then you’ll own a staple gun for the next ten projects. Still a deal.
Your Turn: Go Make a Mess (and a Beautiful Room)
So here’s my challenge to you: give yourself a ridiculous budget and see what happens. You’ll surprise yourself. You’ll make some ugly mistakes (my first curtain attempt belonged in a dumpster), but you’ll also end up with a room that tells a story – your story – instead of just a receipt from a big-box store.
And honestly? That’s worth way more than $100. 🙂
Now go raid your junk drawer, check the curb for scrap wood, and prove to yourself that you don’t need a designer budget to live in a space you love. I believe in you. Your wallet believes in you. And for the love of all that is holy, stop using your overhead light.
Got a DIY win of your own? I’d genuinely love to hear what you’ve hacked together on a budget. Drop it in the comments – let’s all steal each other’s ideas.




Add comment