
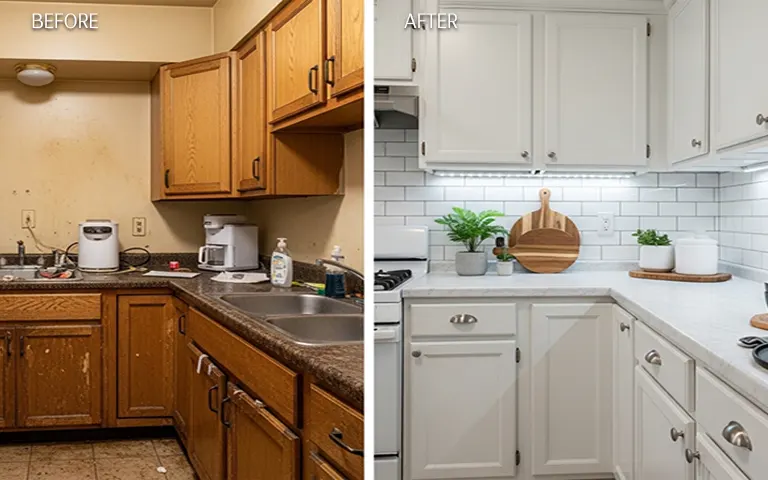
A no-damage, no-landlord, no-nonsense makeover guide

20 years of experience as a home decor consultant, specializing in furniture selection, space-conscious layouts, and practical interior solutions.
My rented apartment kitchen looked like it hadn’t been updated since 1987. Yellowing cabinets, scratched countertops, fluorescent lighting that made everything look vaguely depressing – you know the vibe. And the worst part? I was renting, so I couldn’t do anything permanent about it.
Spoiler: I absolutely could do something about it. I spent $150 over one weekend and did zero landlord-angering renovations to completely transform that sad little kitchen into something I actually wanted to cook in.
Let me walk you through exactly what I did – my budget rental kitchen makeover tips.
Why Renter-Friendly Kitchen Makeovers Are a Total Game Changer
Most renter kitchen advice falls into two camps: “just add a plant” (useless) or “gut the whole thing” (illegal). There’s a massive middle ground that nobody talks about enough – temporary, removable, high-impact upgrades that cost almost nothing and completely change how a space feels.
The goal isn’t a Pinterest-perfect kitchen. The goal is a kitchen that doesn’t make you sad every morning while you wait for your coffee to brew. Big difference.
|
MUST READ: |
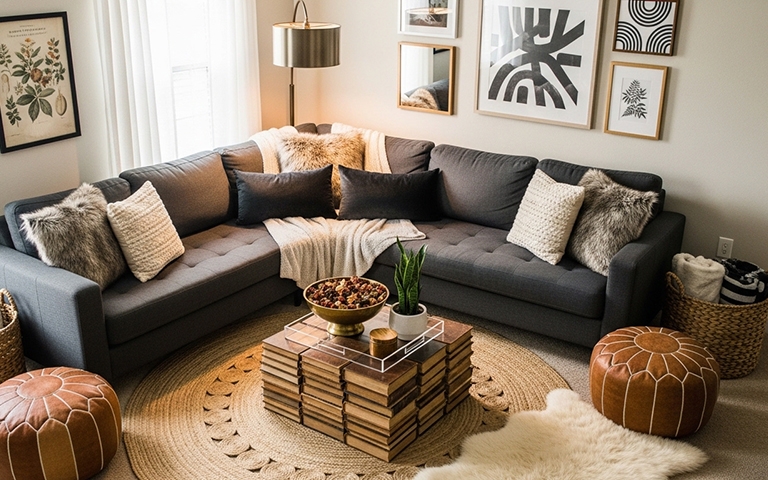
The Cabinet Doors Were the First Thing to Go (Sort Of)
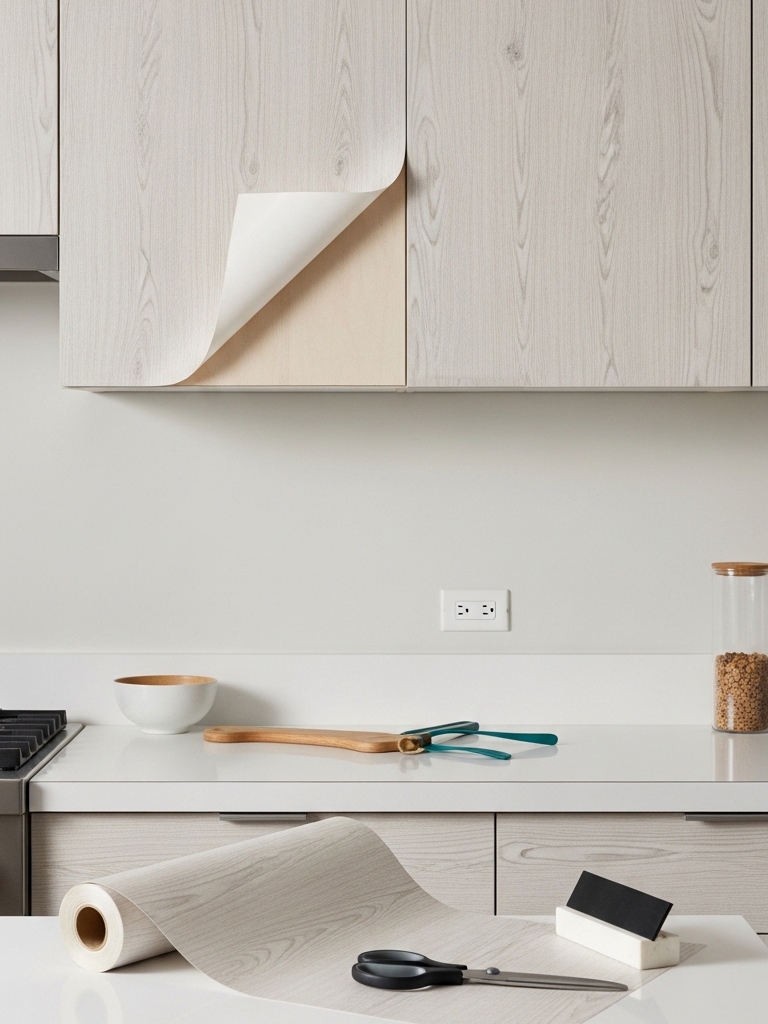
Peel-and-Stick Contact Paper Is Not Just for School Books
I know, I know. Contact paper sounds like something your grandmother used to line her drawers. But the quality has genuinely changed, and modern peel-and-stick vinyl wrap looks shockingly good on flat cabinet doors.
I picked up a marble-look contact paper roll from Amazon for about $18. Two rolls covered all my upper cabinet doors. The trick is to:
- Clean the surface thoroughly with rubbing alcohol first
- Cut the paper slightly oversized, then trim with a craft knife
- Use a credit card to push out air bubbles as you go
- Work slowly on corners – that’s where it peels fastest
The result? My dingy beige cabinet doors now look clean, bright, and intentional. Total cost: $36 for two rolls.
What About Cabinet Hardware?
This one’s underrated. Swapping out cabinet knobs and pulls makes a disproportionate visual difference. My cabinets had those generic tiny brass knobs that screamed: “I gave up.” I replaced them with matte black bar pulls – a 10-pack cost me $22 on Amazon.
The install took about 40 minutes with a screwdriver. Keep the original hardware in a zip-lock bag so you can swap it back before you move out. Easy reversal, huge upgrade.
|
MUST READ: |
The Countertop Situation
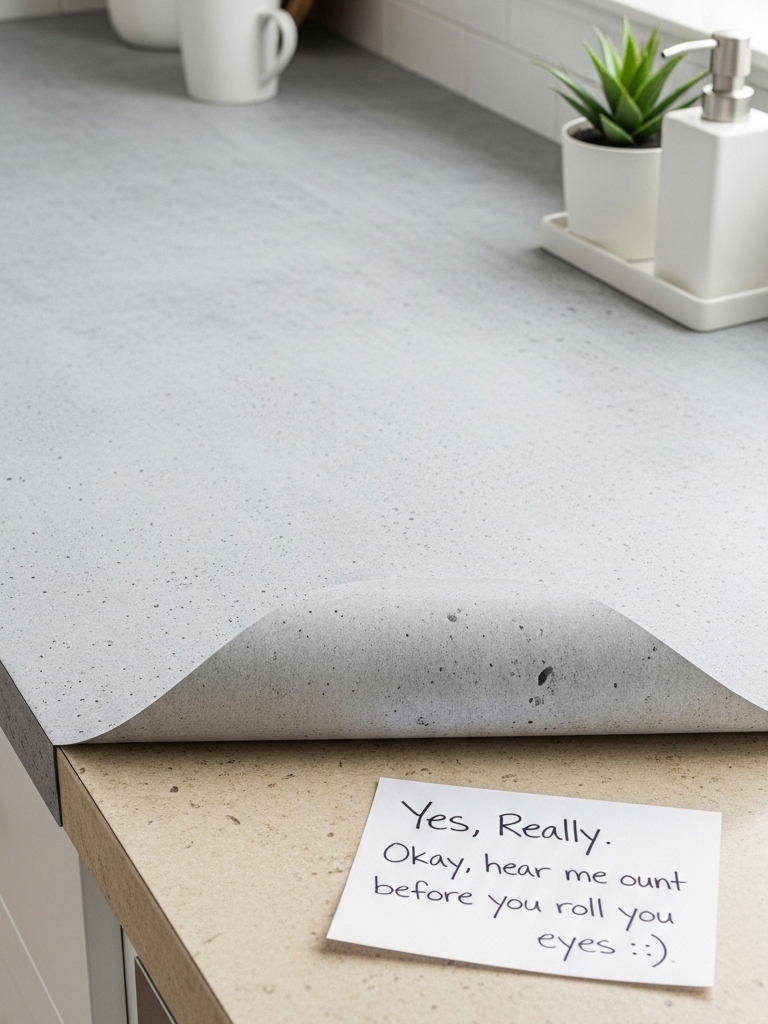
Countertop Contact Paper
My countertop was this tired beige laminate with a chip near the sink that somehow caught everyone’s eye immediately. I used a countertop-specific contact paper (thicker and more textured than regular vinyl) in a light gray concrete look.
A single large roll ran me about $25. The application process is similar to cabinets but requires more patience – countertops are bigger, and you really can’t have visible seams. Tips that saved me:
- Warm the paper slightly with a hair dryer to make it more flexible around edges
- Use a squeegee (not just a card) for countertops – the surface area is too big otherwise
- Overlap seams slightly and cut through both layers for an invisible join
Does it feel exactly like real stone? No. Does it look dramatically better from normal human distance? Absolutely yes.
Lighting Changes Everything (Seriously, Everything)
This might be the highest-impact change I made, and it cost the least. That flickering, humming fluorescent tube overhead was single-handedly making my whole kitchen feel like a gas station bathroom:
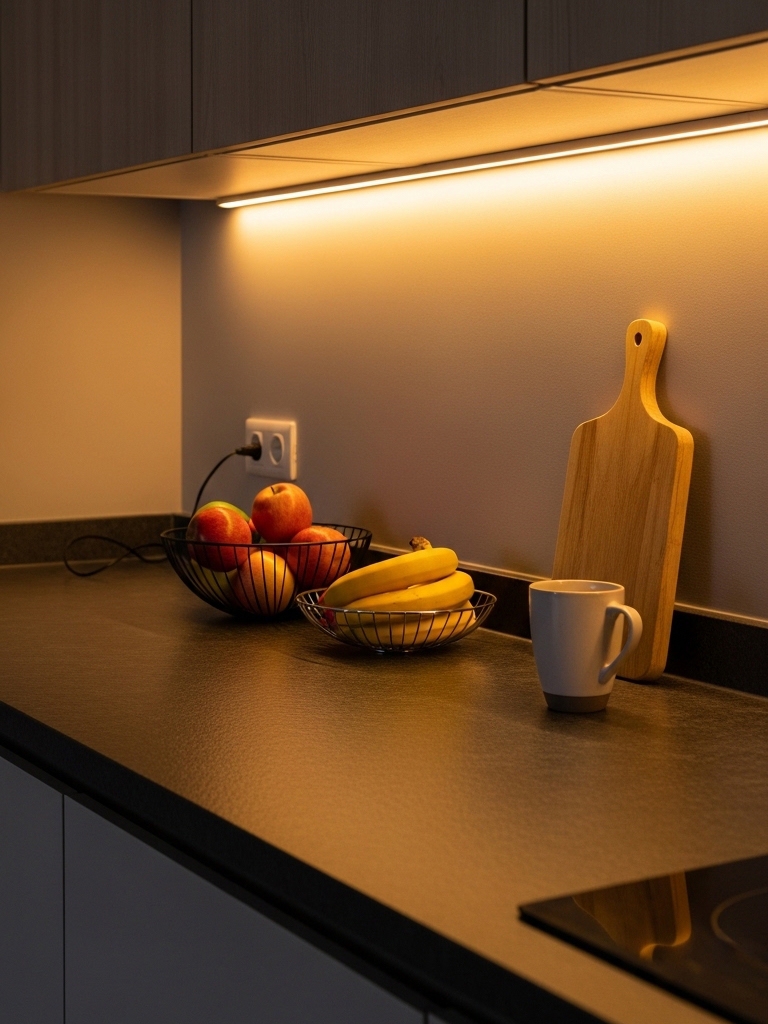
Under-Cabinet LED Strip Lights
I picked up a warm-white LED strip light kit with an adhesive backing for $14. It plugs directly into a standard outlet – no hardwiring, no electrician, no drama. I stuck it under the upper cabinets facing the countertop, and suddenly my kitchen had ambiance.
Warm white (around 2700-3000K) makes food look better, makes the space feel inviting, and hides a multitude of sins. FYI, this is the single change that drew the most comments when people visited.
Swap the Overhead Bulb
If your overhead fixture uses a standard bulb, swap it. A warm LED bulb costs $4 and takes 30 seconds to install. The difference between a cold white bulb and a warm one is honestly staggering.
|
MUST READ: |

The Backsplash Illusion
I didn’t have a backsplash. I had a painted wall behind my stove that had absorbed years of cooking splatter. My landlord’s solution was apparently “don’t look at it.”
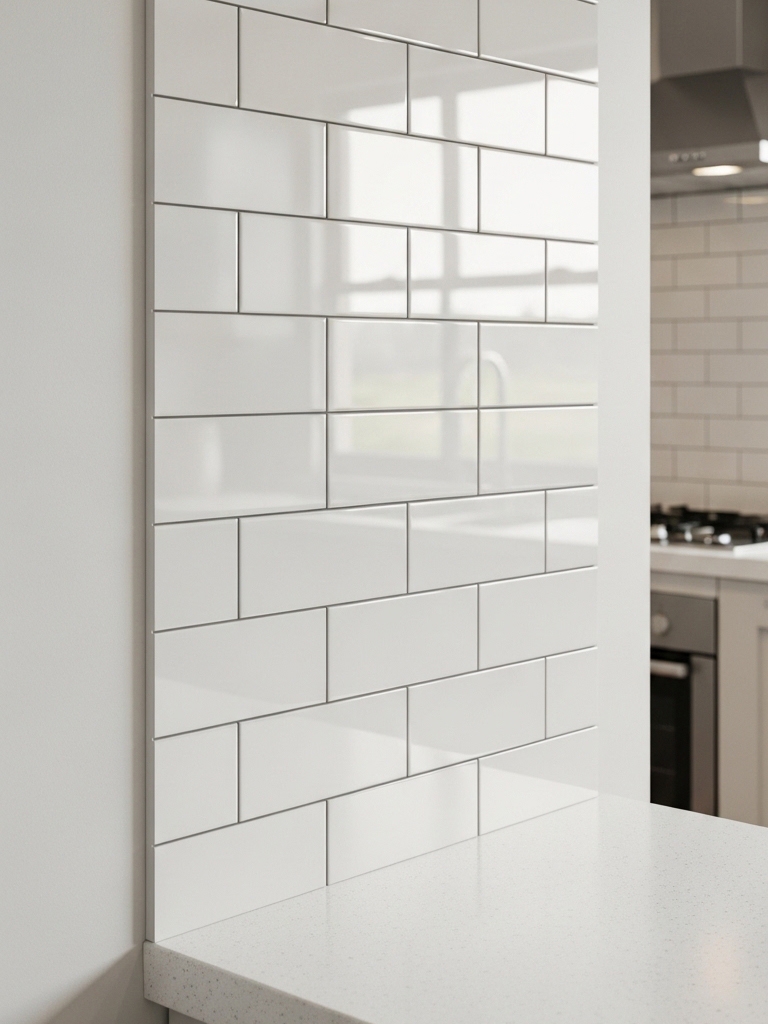
Peel-and-Stick Tile Panels
These have gotten really good. I used a pack of peel-and-stick subway tile panels – they’re about 12×12 inches each, made from a rigid PVC material that actually looks like tile from any normal viewing distance. A pack of 10 squares cost me $28 and covered the main cooking wall entirely.
They stick firmly, they’re easy to wipe clean, and removal leaves no damage if you warm them with a hair dryer first. The whole application took about an hour.
The Finishing Touches That Pull It All Together
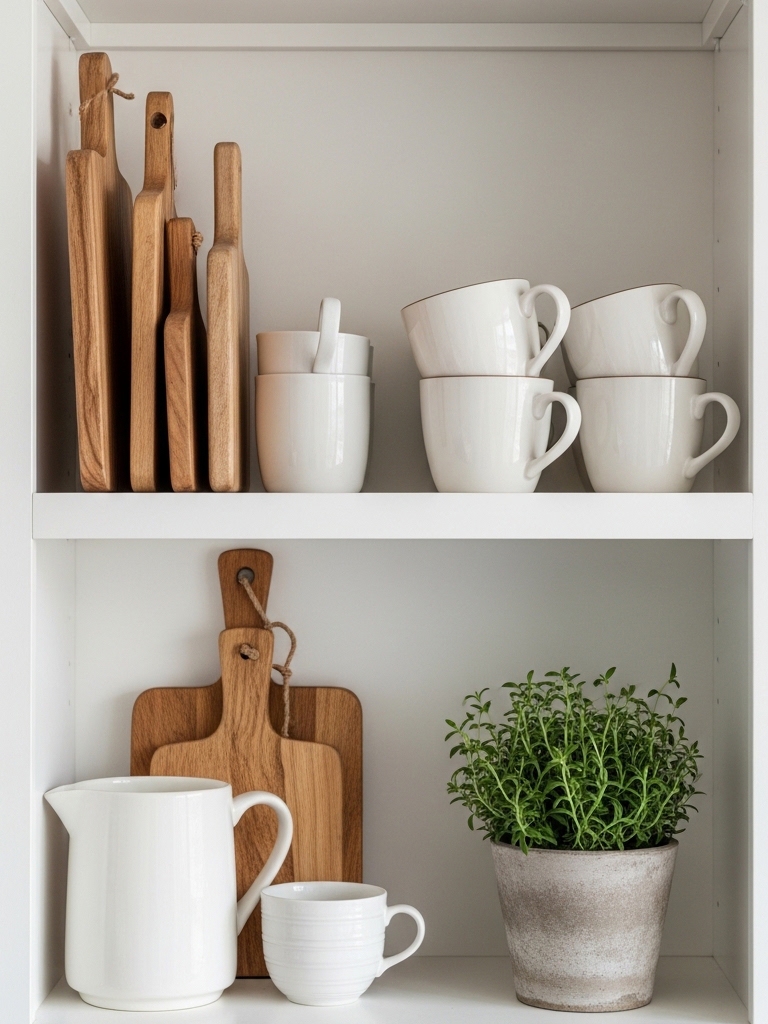
Open Shelf Styling
If you have any open shelf space, this costs almost nothing. I rearranged what I already owned – grouped my mugs, moved my cutting boards so they stood vertically, and added visual height, adding one small potted herb (basil, $3 from the grocery store).
Grouping objects in odd numbers and varying heights makes any shelf look intentional rather than cluttered. Zero dollars, big difference.
A New Rug
My old kitchen mat was a sad gray thing. A new anti-fatigue kitchen mat in a bold color ran me $18 at HomeGoods. It sounds minor. It isn’t. A rug grounds a space visually and immediately makes a kitchen feel lived-in and styled.
|
MUST READ: |
My Full $150 Breakdown
Here’s exactly where every dollar went – no fluff, no hidden costs:
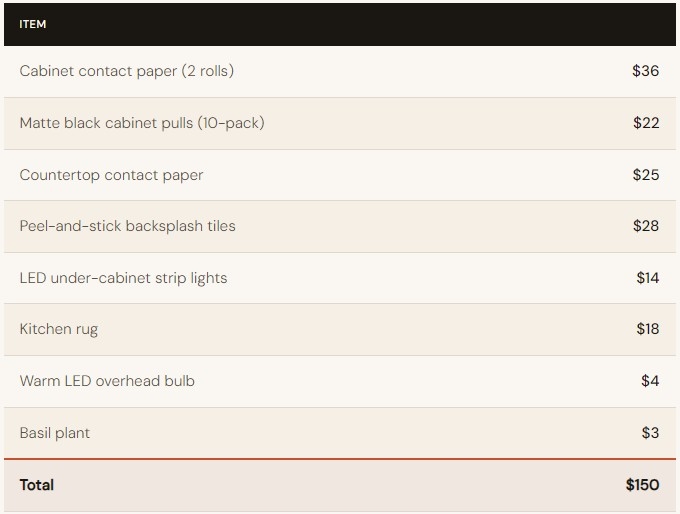
One weekend. Zero damage to the apartment. 100% deposit-safe.
Was It Worth It?
IMO, this was one of the best weekends I’ve spent at home. Not because the work was glamorous – peeling contact paper off a roll at 11 pm on a Saturday is nobody’s idea of fun – but because the result genuinely changed how I felt about being in my rented kitchen.
I cook more now. I actually enjoy making coffee in the morning. And when friends come over, no one has said, “Wow, great contact paper.” They say the kitchen looks great.
You don’t need to own your space to make it feel like yours. You need a weekend, a budget, and the willingness to peel some stickers. Start your budget rental kitchen makeover this weekend.




Add comment